5. Import/Export Table
In this tutorial, we will learn how to create editable tables from data imported to Excel or CSV or from Google Spreadsheet, or get data for a table and from Custom SQL Query using the PubyDoc – Data Tables and Charts WordPress Plugin. And also import the Table created using our plugin between sites.
To Import Table, go to plugin menu-> Add Table and click Import Table.

Here you can enter the title of the table (you can change it later).
And Select the import type and set the required parameters. The table will be created based on the loaded data. Later at any time, it will be possible to change the table and/or its contents by the builders.
Here we will dwell in more detail because there are some differences between the types.
Import from Excel
When the downloadable file is selected, let’s move on to setting up importing a table from Excel.

Import only raw data without formatting.
Import string data as you can see it on Excel.
Treat first line as a header. The first row of the Excel table will be used in the header as the names of the columns of the data table.
And click “Create table” after which the table will be imported to your site.
Import CSV
When the downloadable file is selected, let’s move on to setting up importing a table CSV.

Delimiter. Select display format Delimiter ( , or ; )
Treat first line as a header. The first row of the Excel table will be used in the header as the names of the columns of the data table.
And click “Create table” after which the table will be imported to your site.
Import from GoogleSheet
Enter the URL link to the google spreadsheet.
That being said, GoogleSheet Share Settings you need to activate the “Everyone who has the link can edit document” option.
If Google Sheets contains any images the unique description for each is required to not download the redundant copies in Media Library.

Here you can check the box to Import only raw data without formatting.
Treat first line as a header. The first row of the Excel table will be used in the header as the names of the columns of the data table.
And click “Create table” after which the table will be imported to your site.
Synchronization with google spreadsheet
First, we need to prepare a google spreadsheet.
That being said, GoogleSheet Share Settings you need to activate the “Everyone who has the link can edit document” option.
Table data on the front end will be automatically synchronized with the selected Google Sheet. If Google Sheets contains any images the unique description for each is required to not download the redundant copies in Media Library.

Now let’s connect our google sheet to the plugin, for this go to PubyDoc plugin->add table->GoogleSheet Table.
Here you can enter the title of the table.
Enter the URL link to the google spreadsheet.
Attention, do not copy the share link, you need to copy the URL of the table.

Treat first line as a header. Check this option if you want the first row of the Excel table to be used in the header as the column names of the data table. (can be changed later)
And click “Create table” after which the table will be synchronization google spreadsheet to your site.

Your data table will now be in sync with Google Spreadsheet and you can start setting options just like you would with a manually created data table .
To refresh data from google spreadsheets, or replace the table, make sure the link is correct and click GO as shown in the screenshot.
In this case, all previously specified options will still be relevant.
Custom SQL query
This feature allows you to display table and its fields data from any table of WP database or External databases on the front-end.

Here you can enter the title of the table (you can change it later).
And click “Create table“, after which the table will be created and you can proceed to set up the query.

Database. Now select from which database you want to get the data for the table.
*If you are using an external database, enter the host, name, login, and password of the database.

Table. Leave the choice on SQL query to make the query manually. Or you can select the table as a data source.
If one of the tables is selected, then you can select the fields (Only the selected fields will be used to build the table.) and set unique fields, or several. (Needed to save editable fields.)
After entering unique fields, you can make changes to them directly in the table. In this case, no changes will be made to the database, only to the current table. In order for changes to be made to the database itself, the option to save the frontend field must be enabled. (options->frontend fields)

SQL query. If the SQL query is selected in the “table” parameter, then you can set the SQL query using the classic SQL syntax. Next, enter the SQL query in the field. You can use variables whose values are specified in the shortcode. Variables must begin with ‘SQL’, be enclosed in {} and can contain only Latin characters, digits and underscore character, for example, {sql1} or {sql_id}.
After you have selected the necessary parameters and specified the SQL query, click Go.
For example, here is the same query that we asked in the previous screenshot when selecting a table and fields manually, only using a SQL query: SELECT ID, post_author, post_title, post_date FROM wpy4_posts

As we mentioned earlier, in order to introduce variables it is necessary that variables must begin with ‘SQL’, be enclosed in {} and can contain only Latin characters, digits, and underscore characters, for example, {sql1} or {sql_id}.
For example, let’s include a variable in our SQL query to display posts whose is id <4 and whose post type is page.

Now the data table will be populated according to the SQL query and you can start setting options just like you would with a manually created data table.
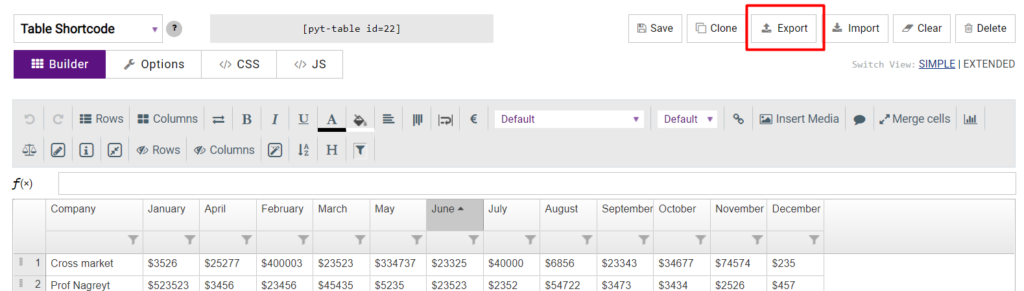
Export Data Table
You can click the Export button directly in the builder.
In the window that appears, select the format in which you want to export the table and configure additional options for exporting the table.

To export the Excel format, you can select the version of excel (2003 or 2007), as well as check the box next to the desired export settings:
- Export only values (without styles)
- Export raw values
- Export formulas
- Save header as first line
To Export CSV format, you can select Delimiter (,/;), as well as check the box next to the desired export settings:
- Export raw values
- Save header as first line
Or, in the menu, put a checkmark on the required tables and click Export.

The table will be automatically loaded in sql format.