Alignment
The alignment is a very useful option that allows you to make your text locate where you need (or any other content) relative to the desired fields thus making it more attractive.
By default, the content of a table is located to the left margin, however, you can easily change the location of any elements in a table e.g. you can add a link button to a table and it will be set on the left by default, so the alignment option will come in handy. From this article, you’ll find our different ways of changing the alignment.
Changing the alignment for the content
As you can see the buttons are located on the top left corner and in such a way it’s better to centralize them. To do so, you need to move to the Extended builder section.
The Alignment option allows changing the horizontal location. You can set the content left, center, or right. Let’s set our button to the center.
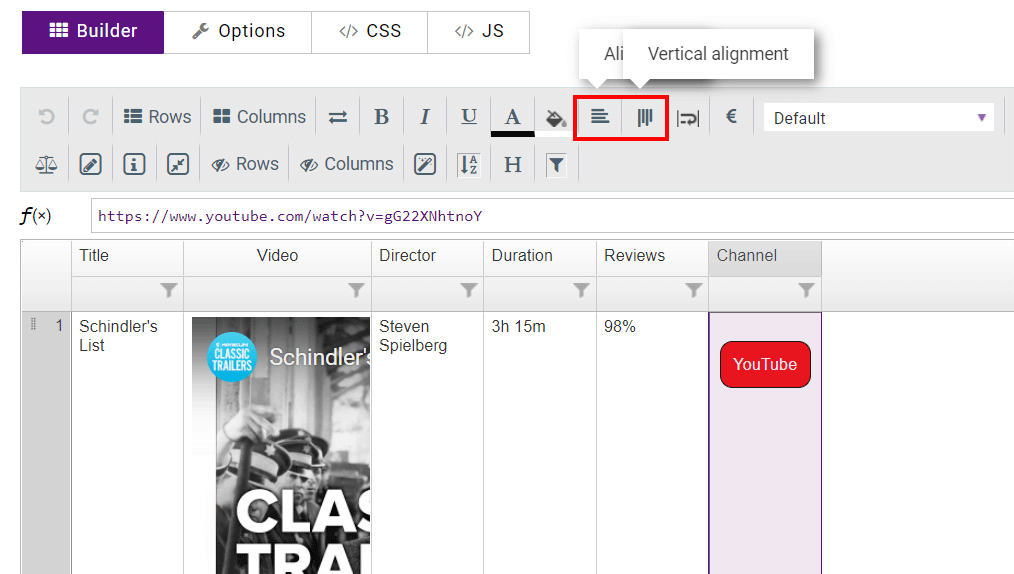
The next useful option is called Vertical alignment so you can relocate the vertical position. You can set the content to the top, middle and bottom. In our case, it’s better for the buttons to be centered.
Here is how it looks after alignment.

Set the alignment for header
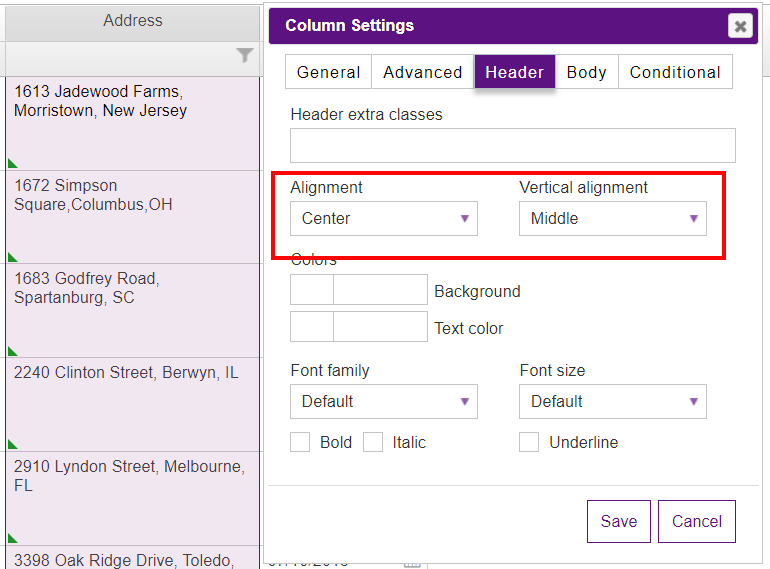
If you click on the gear icon near the title of each column, you can also change the header vertical and horizontal alignments in the Header tab.
Change the alignment globally
In order to relocate the position of content of all cells, proceed to the Options section, scroll to the Use custom styles checkbox and enable it. Here you may notice the Vertical alignment and Horizontal alignment options.