Simple builder
Simple builder. Intuitive interface consisting of several buttons. You can add and customize columns in a couple of clicks. Perfect for quick adding and editing, as well as bulk actions for table content.
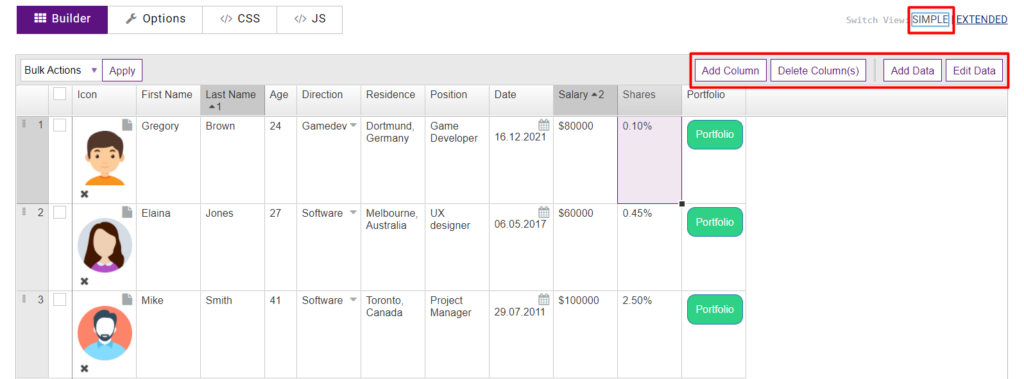
Add Column. Here you can add columns and customize. After clicking, a window will appear in which you can specify the name of the column, select and configure in detail the type of the column and adapt the column to different devices. Then go to the advanced column settings. You can learn more about column settings here.

Delete Column(s). Select one or more columns and click delete columns, after which they will disappear from the table.
Add Data. After clicking on the button, in the popup that opens, you can enter data according to each column of the table, then click save and a row with the entered data will be added to the table.
Edit Data. Select the required line and click the “Edit data” button. After that, in the popup that opens, you can conveniently make the necessary changes to the row for each column and save.

Bulk Action. Here you can apply an action to several table elements at once. For example, to delete several lines, select them with a tick, select the type of action, in our case, delete and click “Apply”. Then the selected columns will be deleted.
Regardless of which constructor you use, the following options are available to you:
Enter data manually. This is an obvious solution, of course, but you can also just click on the cell and fill it with the required content.
Drag&Drop Sorting. In addition, you have the option to change the order by dragging and dropping columns and rows and making additional adjustments to suit your needs.

Regardless of which builder you are using, you can right-click on the selected cell to bring up a context menu with options:
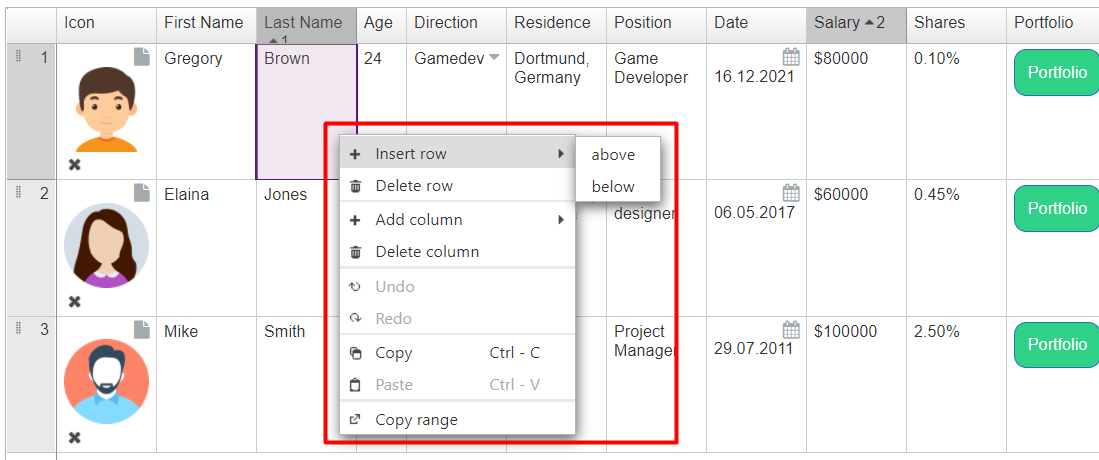
Insert row. Click here to add a new row to the table, but you can choose to add above or below the current row.
Delete row. Delete the selected row.
Add Column. Click here to add a new column to the table, but you can choose to add left or right the current column.
Delete Column. Delete the selected column.
Copy/Past. You can copy and paste the contents of the cell, or use the keyboard shortcut (ctrl + c / ctrl + v).
Column Setting. To select the column settings, move the mouse over the header and click on the settings icon.

Here you can specify the name of the column, select and configure in detail the type of the column and adapt the column to different devices.
The plugin fully supports the following column types:
- Single line text field
- Text area
- HTML Field
- Numeric Value
- Currency
- Percent
- Percent with Convert
- Date Field
- Button/Link
- Select Field
- File upload
Then go to the advanced column settings. You can learn more about column settings here.